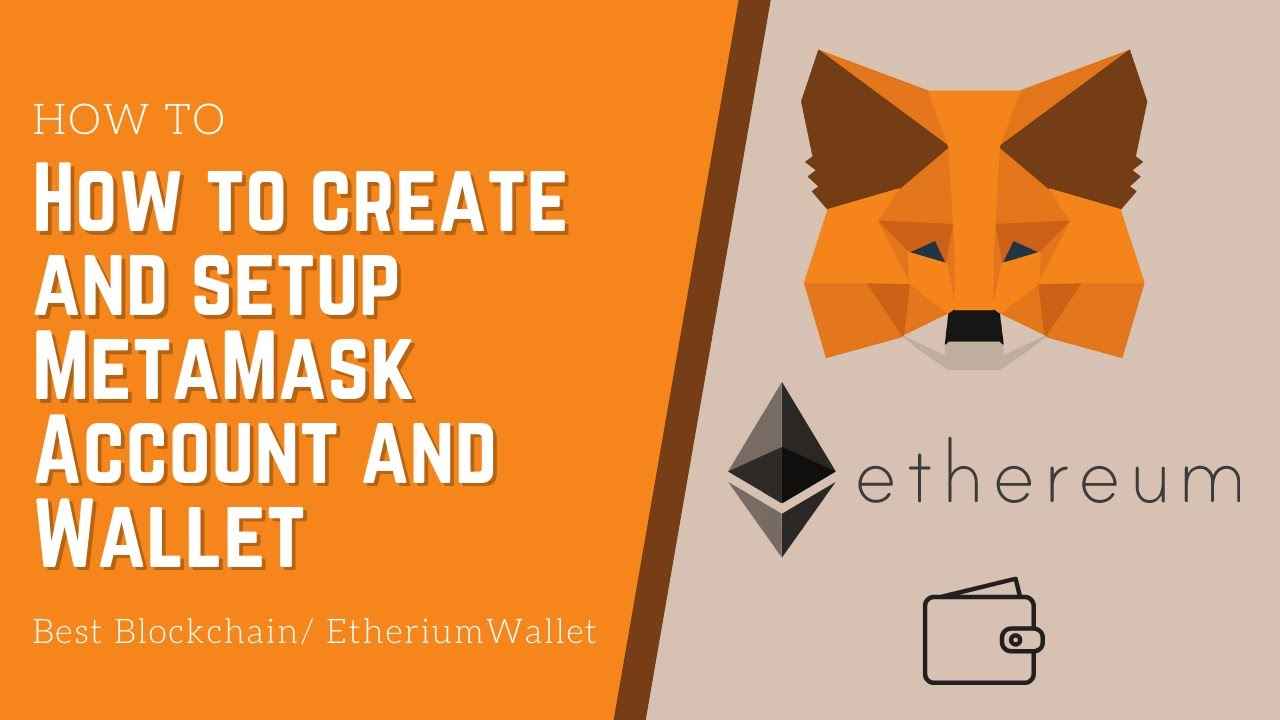
The first time most people touch crypto, it is not through an exchange, it is through a small orange fox icon sitting quietly in their browser toolbar. That fox is MetaMask, and with more than 100 million users worldwide, it has become the default front door into Ethereum, DeFi and NFTs for beginners and traders alike. Setting it up takes less time than making a cup of tea, but one careless step during that process can cost you your entire portfolio later. This guide walks through exactly how to do it right, slowly enough that nothing important gets skipped.
What MetaMask Actually Is and Why Millions Trust It
MetaMask is a non custodial cryptocurrency wallet, which is a fancy way of saying you hold the keys, not a company, not an exchange, just you. It works as a browser extension on Chrome, Firefox, Brave and Edge, and as a standalone app on iOS and Android. Once installed, it lets you store crypto, send and receive tokens, and connect directly to decentralized apps across Ethereum and every other EVM compatible chain out there. That direct control is exactly why it remains the most recommended wallet for anyone stepping into DeFi, NFTs, or on chain trading for the first time, and exactly why setting it up correctly matters so much.
Also Read: Crypto Wallet Security: The Complete Guide to Protecting Your Digital Assets in 2026
Before You Install: Browser Extension or Mobile App
Both versions work well, but they suit different habits, so it is worth picking deliberately rather than defaulting to whichever one you saw first. The browser extension feels more natural for desktop trading, swapping tokens on decentralized exchanges, or anything involving multiple browser tabs open at once. The mobile app leans into convenience, offering a built in dApp browser, Face ID or fingerprint login, and the ability to check your portfolio while standing in line for coffee. Many active users end up running both, syncing the same wallet across devices using the same Secret Recovery Phrase you are about to generate.
Step by Step MetaMask Wallet Setup
Start by visiting the official MetaMask website directly rather than clicking a link from social media or a random search ad, since fake extensions and lookalike sites are a genuine risk here. Download the extension for your browser or the app from the official App Store or Google Play listing, then pin it to your toolbar so it stays easy to find. Open MetaMask and select Create a New Wallet, agree to the terms of service, then set a strong password that unlocks the app on this specific device. This password protects local access only, it is not the same thing as your recovery phrase, and that distinction matters more than most beginners realize going in.
Understanding and Protecting Your Secret Recovery Phrase
This is the single most important part of the entire setup, so slow down here even if everything else felt quick. MetaMask generates a 12 word Secret Recovery Phrase that is the true master key to your wallet, capable of restoring your funds on any device, anywhere, forever. Write it down on paper, in the exact order shown, and store it somewhere physical and private, never as a screenshot, a cloud note, or a text message to yourself. MetaMask will ask you to confirm the phrase by selecting the words in order before finishing setup. Anyone who ever gets access to those 12 words gets full access to everything inside your wallet, no password required.
A First Look at the MetaMask Interface
Once setup finishes, the 2026 version of MetaMask opens into a noticeably cleaner layout than earlier releases, built specifically to stop first time users from feeling lost. Your public wallet address sits near the top with a one click copy button, which is what you share to receive crypto, completely safe to hand out publicly. A network dropdown shows whichever chain you are currently connected to, defaulting to Ethereum Mainnet, with quick switching to Polygon, Arbitrum, BNB Chain and others. Below that sits your token list, though newer or less common tokens usually need their contract address imported manually before they show up correctly.
Adding Networks and Funding Your Wallet
MetaMask ships ready for Ethereum out of the box, but crypto lives across dozens of chains now, and adding new ones takes under a minute through Settings and then Networks. Once your wallet exists and is configured, funding it is straightforward. Buying crypto directly through a reputable exchange and withdrawing it to your MetaMask address is usually the cheapest and most secure route, particularly on platforms offering cold storage and two factor authentication on the exchange side. Remember that tokens on different networks are not interchangeable even with identical names, ETH sitting on Polygon is a separate asset from ETH sitting on Ethereum Mainnet, and sending across the wrong network can permanently strand your funds.
Common Beginner Mistakes to Avoid
Most losses in this space trace back to a small handful of repeatable mistakes rather than sophisticated hacking. Typing a seed phrase into any website, no matter how official looking, hands your wallet to whoever built that site. Approving a wallet connection without reading what permissions it is actually requesting is another quiet trap, since some approvals grant far more access than a simple balance check. Trusting a support message on Telegram or X claiming to help recover your wallet is almost always a scam, since real MetaMask support never DMs first and never asks for your phrase. If a request feels rushed or unusually generous, that instinct is worth listening to before you click confirm.
Is MetaMask Safe Enough for Your Crypto
For everyday amounts, moving between exchanges, trying out a new DeFi protocol, or collecting an NFT, MetaMask on its own is genuinely solid, provided your recovery phrase stays offline and your habits stay careful. Holding larger amounts changes the calculus. Pairing MetaMask with a hardware wallet like a Ledger or Trezor adds a physical confirmation layer that phishing links simply cannot bypass, since every transaction then requires a button press on a separate physical device. Self custody hands you full control, and along with it, full responsibility, which is exactly the tradeoff that makes wallets like MetaMask worth understanding properly before you move real money through one.
Frequently Asked Questions
Is MetaMask free to set up? Yes, downloading and creating a MetaMask wallet is completely free, though you pay standard network gas fees when sending transactions or swapping tokens.
What is a MetaMask Secret Recovery Phrase? It is a 12 word phrase generated during setup that acts as the master key to your wallet, capable of restoring your funds on any device.
Can I use MetaMask on both my phone and computer? Yes, importing the same Secret Recovery Phrase on the mobile app and browser extension syncs the identical wallet across both devices.
Is MetaMask safe for storing large amounts of crypto? For larger holdings, pairing MetaMask with a hardware wallet like Ledger or Trezor is recommended for an added layer of physical security.
What happens if I lose my MetaMask password? Your password only unlocks the app on that specific device and can be reset using your Secret Recovery Phrase, which is why safeguarding that phrase matters more than the password itself.